Contents
What is stair tread nosing?
Stair nosing is the front of a step where foot traffic frequently occurs. Anti-slip strips or nosings can be applied from a variety of materials (profiles) including aluminum, fiber-reinforced plastic, and wood.

Why do stairs need nosing?
- Reduce accidents on stairs (slip resistance)
- Protect the step edge and surrounding floor coverings
- Reduce maintenance costs
- Comply with provincial health and safety regulations
In Canada over 51,000 workers get injured annually due to fall incidents. This number represents about 20% of the “time-loss injuries” accepted by workers’ compensation boards or commissions across Canada.
National Work Injury, Disease and Fatality Statistics, 2016-2018

Material types to choose from (profiles)
Stainless Steel

Stainless steel stair nosings are for industrial and/or commercial areas with heavy traffic. They are best paired with anti-slip inserts and often meet or exceed safety regulations.
- ✓ Long life span (under heavy traffic)
- ✓ Resistant to corrosion
- — Expensive
- — Can collect dirt and smudges (cleanable)
Fiber Reinforced Plastic (FRP)

FRP stair nosings are for commercial and industrial applications with heavy traffic. FRP is waterproof, relatively chemical resistant, and can be highly customized.
- ✓ Economical and slip-resistant
- ✓ Lightweight and easy to install
- — Difficult to repair
- — Not eco-friendly
Wood

Wood stair nosings are for indoor or outdoor residential areas with light traffic. Ensure that you order the nosings prefinished, so that you don’t have to wait a few days for the finish to seal.
- ✓ Naturally beautiful
- ✓ Large variety of colors to fit your budget
- — Very sensitive to the environment
- — Will discolor in outdoor applications
Rubber

Rubber stair nosings are for indoor commercial or residential areas with medium traffic where non-slip protection is important.
- ✓ Good traction vs rain and liquids
- ✓ Ideal for hard surfaces like tile, wood, or stone
- — Basic appearance
- — Not recommended for workplaces with strong chemicals
Vinyl

Vinyl stair nosings are for indoor commercial or residential areas with light traffic at a very affordable price point.
- ✓ Very affordable
- ✓ Large variety of colors and wood-like textures
- — Short lifespan
- — Not eco-friendly
Aluminum

Aluminum stair nosings are suitable for commercial and most industrial applications with heavy traffic. They are best paired with anti-slip inserts and often meet or exceed safety regulations.
- ✓ High strength-to-weight ratio
- ✓ Corrosion resistant
- — Expensive
- — Limited design variations
Chrome

Chrome is a decorative plating for stair nosings and is for indoor commercial applications with light to medium traffic. They are best paired with anti-slip inserts.
- ✓ Contemporary, modern look
- ✓ Corrosion resistant
- — More expensive than steel and aluminum
- — Prone to scratches
PVC

PVC stair nosings are popularly used in domestic and residential areas with light traffic.
- ✓ Very lightweight and easy to install
- ✓ Many color, size, and shape variations
- — Fades in outdoor applications
- — Not eco-friendly
Stone

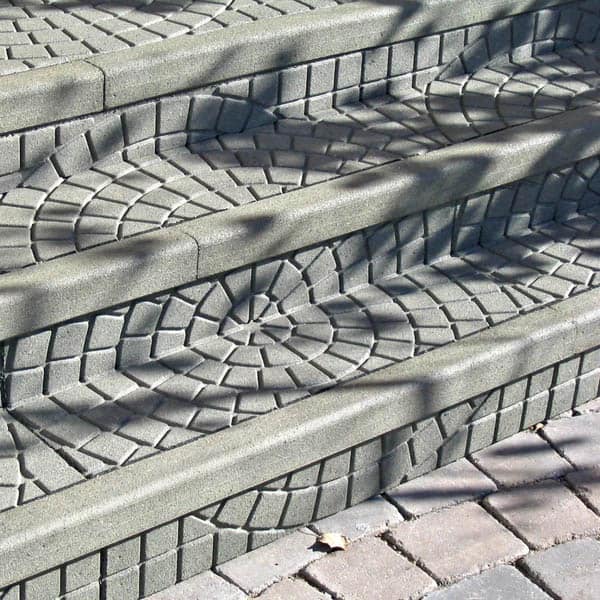
Stone stair nosings, such as granite or ceramic tile, are used in commercial and industrial applications with heavy traffic. They bring a natural beauty that lasts for years.
- ✓ Weather resistant
- ✓ Easy to clean and maintain
- — Labor-intensive installation
- — Expensive installation costs
How much are stair nosings?
| Material | Price per Step (USD) | Anti-Slip? | Traffic | Buy |
|---|---|---|---|---|
| Stainless Steel | $54 | Yes (inserts) | Heavy | |
| Fiber Reinforced Plastic (FRP) | $37 | Yes | Heavy | In Stock |
| Wood | $30 | No | Light | |
| Rubber | $40 | Yes | Medium | |
| Vinyl | $10 | No | Light | |
| Aluminum | $37 | Yes (inserts) | Heavy | In Stock |
| Chrome | $64 | Yes (inserts) | Medium | |
| PVC | $10 | No | Light | |
| Stone | $45 to $95 | Yes | Heavy |
How to Install Stair Nosings
Time needed: 3 hours and 30 minutes.
Now that you’ve selected the stair nosing profile that fits your installation’s aesthetic and budget, you’re ready to install. The key to long-lasting stair edgings is proper installation. First, make sure to read the manufacturer’s instructions thoroughly. Below are additional tips:
-
Prepare the Surface
Ensure steps are smooth, sturdy, and free of dust or contaminants. Allow any repair mortar to cure completely.

-
Install the Riser Material
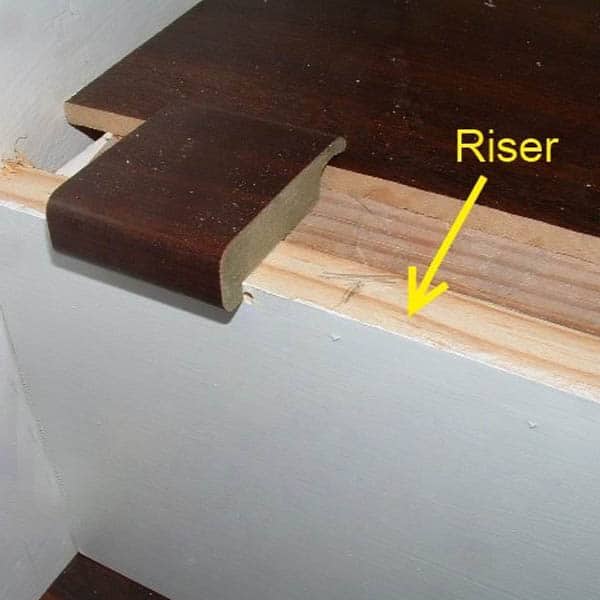
Install the riser material prior to fitting the stair nosing. Ensure the riser is flush or slightly shorter than the tread area for a proper fit.

-
Cut Your Stair Nosing to Size
Measure steps carefully and double-check measurements before cutting stair nosings. Pre-ordering custom-sized nosings can save time.

-
Screw and Glue
Follow manufacturer recommendations. Unless advised otherwise, use both screws and adhesive for added security to keep the stair nosing in place.

-
Allow for Adequate Curing Time
Allow at least 1 hour for curing on absorbent surfaces and 2 hours on non-absorbent surfaces. Refer to the manufacturer’s instructions for exact times.

-
Clean Up
Remove any excess adhesive immediately after installation while it is still wet. Keeping a cleaner or wipes nearby is helpful for quick cleanup.
By following these steps, your stair nosings will look great, protect your stairs, and ensure safety for users.

