
TL;DR
This procurement checklist for stair nosings on renovation projects covers every term, measurement, and decision point you need before ordering. Survey the substrate, measure each step individually, verify code-compliant projection and visual contrast, choose the right material for the environment, and plan substrate prep before the nosings arrive. Skipping any of these steps leads to failed inspections, wasted materials, or new trip hazards.
Who This Guide Is For and Why Renovation Is Different
This guide is written for contractors, facility managers, property managers, and specifiers working on existing staircases in commercial, institutional, or industrial buildings across Canada. If you are part of a construction or architectural firm preparing a renovation bid, this is your reference document.
Procuring stair nosings for a renovation project is fundamentally different from specifying them for new construction. In new builds, you can embed cast-in nosings during the concrete pour, the substrate is fresh and level, and every tread is uniform. Renovation strips all those luxuries away. You are working with worn concrete, warped wood, corroded metal, and stairs that were built decades ago under different codes. Surface-mount (retrofit) nosings are the only practical option, and they bring their own set of complications, most notably that adding material on top of existing treads changes the effective riser height on every step.
The stakes are real. In Canada, falls on stairs in homes alone cause over 300 deaths and 100,000 emergency room visits annually. The Canadian Institute for Health Information reported 162,222 unintentional slip-and-fall injuries in 2020–2021, representing nearly 60% of all injury hospitalizations. A properly specified stair nosing is one of the most cost-effective interventions available, but only if it’s the right product, installed on a properly prepared surface, in compliance with the applicable code.
→ Browse FRP stair tread nosings to see available sizes and colors before building your spec.
Glossary of Stair Nosing Procurement Terms
Every product page, spec sheet, and code reference you encounter during procurement uses specific terminology. Misunderstanding a single term can mean ordering the wrong profile, failing an inspection, or creating a new hazard. This glossary defines each term with renovation context so you can read any supplier document with confidence.
Stair Nosing
The horizontal, protruding edge of a stair where most foot traffic occurs. Technically, it is the portion of the tread that extends beyond the riser (on stairs with vertical risers) or beyond the back of the tread below (on stairs with angled or no risers). This is the highest-wear zone on any staircase and the primary location for slip-and-fall injuries.
Renovation / Retrofit Nosing
A nosing designed to be installed on top of existing steps after minor repairs to the underlying substrate. This is the opposite of a cast-in nosing, which gets embedded into wet concrete during a new pour. Renovation nosings are surface-mounted, making them the only viable option for retrofit projects. They save thousands in labor and material costs compared to tearing out and rebuilding stairs.
Projection (Overhang)
How far the nosing extends beyond the riser or the lower tread, measured horizontally. Too much projection catches ascending feet and reduces usable tread depth. The National Building Code of Canada (NBC) caps projection at 25 mm. The International Building Code (IBC), relevant for cross-border or U.S.-referenced projects, caps nosing projection at 1¼ inches while ADA allows 1½ inches. On accessible commercial stairs, the stricter IBC limit governs. Practitioners on building code forums report genuine confusion about which limit applies when both ADA and IBC are in play. The answer is simple: the stricter standard always wins.
Radius / Bevel
The curvature or chamfer of the nosing’s leading edge. A sharp, tight radius feels less forgiving underfoot and may not meet accessibility recommendations. The NBC requires that the top of nosings have a rounded or beveled edge extending not less than 6 mm and not more than 14 mm measured horizontally from the front of the nosing. When evaluating products, check whether the profile’s radius falls within this range.
Tread Depth / Going
The horizontal distance from the nosing’s front edge to the riser behind it (or the nosing of the next step above). Minimum tread depth is set by the building code for the occupancy type. On renovation projects, adding a nosing with significant projection can reduce the effective tread depth, so always recalculate after specifying the nosing profile.
LRV (Light Reflectance Value)
A measurement of how much light a surface reflects, on a scale of 0 (pure black) to 100 (pure white). In stair nosing procurement, LRV matters because building codes and accessibility standards require visual contrast between the nosing and the tread surface. The widely accepted benchmark is a minimum 30-point LRV difference between the nosing and the adjacent tread. Accessibility Standards Canada’s accessible-ready housing standard calls for a horizontal strip 50 ± 10 mm deep that is color and luminance contrasted, slip resistant, and full width at the nosing. One insight from RICS practitioners: many surveyors and specifiers find LRV requirements daunting because they’re not a common consideration in most projects. Treat LRV as a procurement spec. Request the data from the supplier before placing your order.
For a deeper explanation of accessibility code requirements for nosings, see this guide on Canadian accessibility building code considerations.
PTV (Pendulum Test Value)
A lab-tested measurement of a surface’s slip resistance using a calibrated pendulum device. A PTV of 36 or above indicates low slip potential and is the commonly recommended minimum for stair nosing surfaces. When comparing products, ask suppliers for PTV test certificates, not just marketing claims.
R-Rating (DIN 51130 Ramp Test)
A classification from the German DIN 51130 ramp test, used internationally as a slip resistance benchmark. Indoor stairs require a minimum R10 rating, while outdoor stairs require R11. If a product page lists an R-rating without specifying the test standard, ask for clarification.
Substrate
The existing stair surface onto which the nosing will be mounted. In renovation work, common substrates include poured concrete, precast concrete, wood, steel, steel pan filled with concrete, and (less commonly) stone or tile. The substrate type determines the mounting method, fastener type, and prep work required. Identifying the substrate accurately is the first step in any procurement checklist for stair nosings on renovation projects.
Surface-Mount vs. Adhesive-Mount vs. Cast-In
Three primary mounting methods. Surface-mount (mechanical fasteners, typically screws or bolts) is the default for renovation. Adhesive-mount works for lighter-duty indoor applications but requires verified substrate porosity and adequate cure time. Cast-in (using J-hooks or Nelson studs embedded in fresh concrete) applies only to new construction and is irrelevant for renovation. Some installations use a combination of mechanical fasteners and adhesive for extra holding power.
Abrasive Insert
The slip-resistant material bonded to the nosing’s leading edge or top surface. The most common abrasive is silicon carbide mixed with epoxy. Aluminum oxide and carborundum are also used. The abrasive grade and grit density directly affect traction, durability, and how aggressively the surface wears shoe soles. For high-traffic commercial stairs, silicon carbide is the standard choice.
FRP / GRP (Fibre-Reinforced Plastic)
Nosings manufactured through a pultrusion process, where continuous glass fibres are pulled through a resin bath and shaped into a profile. The result is a lightweight, corrosion-proof product that can be cut to size on site with basic tools. FRP nosings are compatible with concrete, metal, and timber substrates. For more on the pultrusion process and chemical resistance, see the FAQ on stair nosing materials.
Photoluminescent (Glow) Strip
A strip embedded in the nosing that absorbs ambient light and glows in darkness, marking the stair edge during power failures or emergency egress. Increasingly specified in commercial and institutional buildings where emergency lighting codes apply.
Dimensional Uniformity
Building codes require that stair treads and risers be of uniform size and shape within a flight. The IBC sets the tolerance between the largest and smallest riser (or tread) at no more than ⅜ inch (9.5 mm). This is critical for renovation: adding a surface-mount nosing raises each tread’s effective height. If you install nosings on some treads but not all, you create non-uniform rise, which violates the code and creates a genuine trip hazard.
The 10-Point Procurement Checklist
With the glossary as your reference, here is the step-by-step procurement checklist for stair nosings on renovation projects. Follow it in order. Each step depends on the one before it.
1. Survey the Substrate
Walk the staircase and identify exactly what the stairs are made of: poured concrete, precast concrete, wood, steel, steel pan with concrete fill, or something else. Check for crumbling, spalling, delamination, rot, rust, or uneven surfaces. Never install metal or FRP profiles over crumbling concrete or rotting wood. If the stair edge is heavily chipped, note that leveling compound or wood filler will be needed before installation.
For concrete substrates, consider moisture testing. Moisture testing is an essential step for determining whether a concrete substrate is suitable to receive a resilient stair covering. Any slab that shows efflorescence, discoloration, or tackiness warrants a calcium chloride or relative humidity test.
For metal pan concrete stairs specifically, lay a straightedge from back to front. If the concrete is higher than the leading edge, it needs grinding. If lower, a compatible cementitious patch must be applied to level and make flush.
2. Measure Each Step Individually
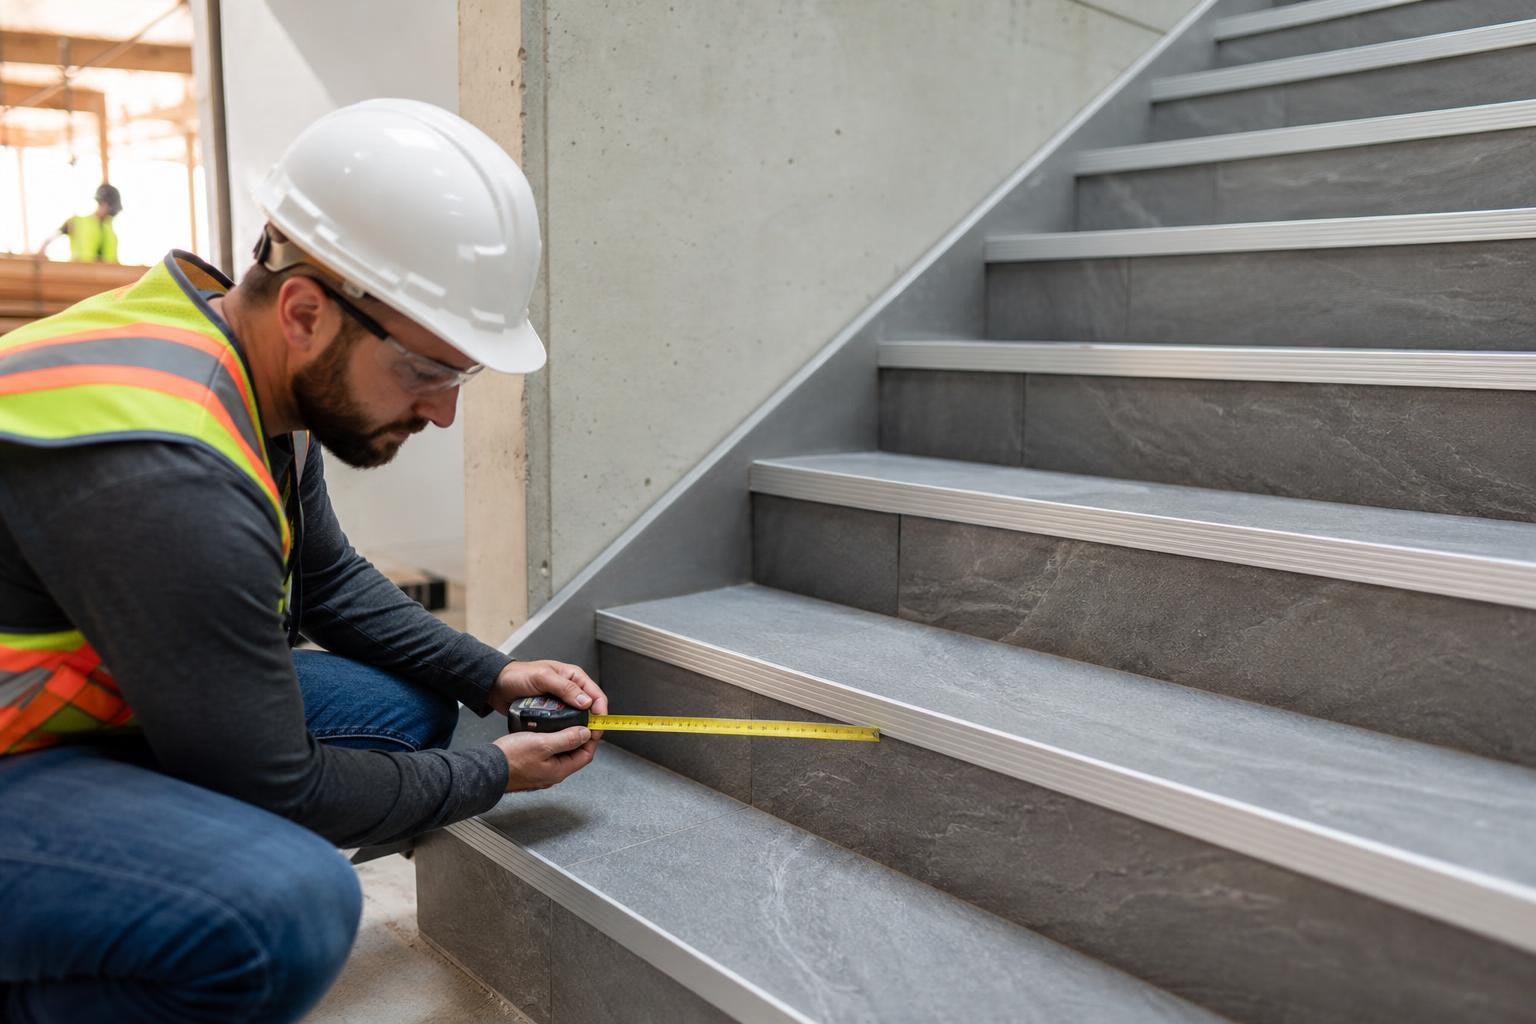
Do not assume all steps are identical, especially in older buildings. Measure the exact width of each individual step, the existing tread depth, the riser height, and the current nosing condition (if there is an existing nosing). Record everything. Width variations of 5 to 10 mm between treads are common in buildings over 30 years old.
If you are dealing with irregular or non-standard stair geometry, this guide on measuring and ordering nosings for irregular steps covers the process in detail.
3. Assess the Height Change
This is the step that most renovation procurement checklists miss entirely. Adding a surface-mount nosing raises each tread by the nosing’s thickness, typically 3 to 10 mm depending on the product. If you install nosings on every tread, the rise from tread to tread stays uniform. If you install them on only some treads (for example, skipping the top or bottom step), you create a non-uniform riser height that may exceed the ⅜-inch tolerance.
Calculate the effective riser height change before ordering. If you are adding full tread covers rather than just nosing strips, the height change is greater.
4. Determine Indoor/Outdoor and Environmental Exposure
This is where material selection begins. Ask:
- Is the staircase indoors, outdoors, or partially exposed?
- Will it encounter water, ice, snow, oil, chemicals, or UV?
- What is the foot traffic volume: light residential, moderate commercial, or heavy industrial?
For wet, outdoor, or industrial stairs, FRP or aluminum with abrasive traction strips outperform vinyl or PVC. A rubber trim that works fine in a residential basement will be destroyed within weeks in an industrial facility. For outdoor aluminum options, see outdoor aluminum stair nosings.
5. Check Code Requirements for the Jurisdiction
Identify which codes apply to your specific project and location:
- NBC (National Building Code of Canada): Nosing radius 6–14 mm horizontal, projection cap 25 mm.
- Provincial codes: May have additional requirements. Always check.
- IBC (International Building Code): Projection cap 1¼ inches. Relevant for cross-border work or when referenced by the authority having jurisdiction.
- Accessibility Standards Canada: 50 ± 10 mm contrasting, slip-resistant strip at full width.
- Slip resistance: PTV ≥ 36, or R10 (indoor) / R11 (outdoor).
- Visual contrast: ≥ 30-point LRV difference between nosing and tread.
If your project involves accessible routes, you may also need tactile indicators at the top and bottom of stairways.
6. Specify Visual Contrast
Visual contrast is the rule most contractors forget, and it is the #1 item that fails accessibility inspections. Choose a nosing color that achieves at least a 30-point LRV difference from the tread surface. Yellow nosings on dark concrete provide high contrast. Black nosings on dark treads do not.
Request LRV data from the supplier before ordering. If the supplier cannot provide it, look elsewhere. This is not optional on accessible commercial stairs, and it is increasingly enforced on all commercial renovations.
7. Verify Slip Resistance Data
Ask for PTV or R-rating test certificates. Do not accept vague claims like “anti-slip” or “non-skid” without documentation. Target PTV of 36 or above for stair surfaces. For outdoor stairs, confirm R11 or equivalent. For indoor stairs, R10 is the minimum.
The abrasive type matters too. Silicon carbide provides aggressive traction. Products relying on textured patterns alone may not deliver adequate slip resistance when wet or contaminated.
8. Match the Profile to the Stair Edge
Before choosing a material, you must match the nosing profile to your existing stair edge. Square stair edges need square-profile nosings. Bullnose edges need half-round or adaptable profiles. Forcing the wrong shape onto a step creates a trip hazard, and practitioners on renovation forums are blunt about this: profile mismatch is one of the most common causes of post-renovation complaints and callbacks.
One Reddit user described their DIY stair nose installation as “janky” and flagged the loose, mismatched nosings as an urgent trip hazard. The lesson: get the profile right at the specification stage, not on the job site.
9. Confirm Mounting Method and Hardware
For renovation projects, surface-mount with mechanical fasteners is the default. Confirm:
- Screw or bolt type and spacing (stainless steel for outdoor or corrosive environments)
- Whether supplemental adhesive is recommended by the manufacturer
- Whether saddle clamp assemblies are required for certain profiles or substrates
- Whether pre-drilling is needed for concrete or metal substrates
Adhesive-only mounting is suitable for lighter-duty indoor applications, but verify that the substrate is clean, porous enough for adhesion, and that you can maintain the cure temperature and time specified by the adhesive manufacturer.
10. Plan Substrate Prep Before Ordering
Order your prep materials at the same time as your nosings. This is the step many renovation buyers miss, leading to project delays once the nosings arrive but the stairs aren’t ready.
- Worn concrete: Leveling compound to fill divots, chips, and worn edges. Rebuild a solid 90-degree base.
- Damaged wood: Wood filler for chipped or rotted edges, followed by sanding to a flat surface.
- Corroded metal: Wire brush or grinder to remove rust, then primer if specified by the nosing manufacturer.
- Old adhesive or debris: Scrape and clean thoroughly. Adhesive bonds to dirt, not to the step.
For the full installation workflow after prep, see this guide on how to retrofit stairs without rebuilding them.
Common Renovation Pitfalls
Even experienced contractors stumble on stair nosing procurement for renovation projects. These are the mistakes that cost the most time and money.
Specifying too late. Stair nosings are often overlooked or specified too late in the design process. When they’re left to construction documentation or last-minute procurement, the result is limited product options, compliance gaps, and a cascade of RFIs from contractors. Specify nosings during design development, not during construction.
Forgetting visual contrast. Mentioned above, but worth repeating: visual contrast is the single most common inspection failure on accessible stair renovations. A ≥30-point LRV difference is not a suggestion.
Not prepping the substrate. Adhesive and even mechanical fasteners perform poorly on deteriorated surfaces. Cleaning and leveling before installation is not optional.
Assuming all steps are the same width. They’re not. Especially in buildings older than 30 years. Measure every step.
Creating a new trip hazard. Wrong profile, excessive projection, or nosings on only some treads can make the staircase more dangerous than it was before the renovation. This defeats the entire purpose.
Using residential-grade materials in commercial settings. A rubber or vinyl nosing rated for light foot traffic will fail quickly in industrial and commercial environments. Match the product to the actual use case.
Ignoring on-site cutting requirements. FRP nosings can be cut to length on site with standard tools, which is a significant advantage when stair widths vary. Cast aluminum, by contrast, must be factory-cut. Factor this into your timeline. For cutting guidance, see on-site cutting and finishing tips.
Material Decision Matrix
Use this table as a quick-reference when choosing between the four main material categories for your procurement checklist for stair nosings on renovation projects.
| Factor | FRP (Pultruded) | Aluminum (Extruded) | Aluminum (Cast) | Vinyl / Rubber |
|---|---|---|---|---|
| Best environment | Wet, chemical exposure, outdoor | High-traffic commercial, outdoor | Heavy industrial, concrete stairs | Indoor, light traffic |
| Substrate compatibility | Concrete, wood, metal | Concrete, wood, metal | Concrete, steel pan | Concrete, wood |
| Corrosion resistance | Excellent | Good (anodized or powder-coated) | Good | Not applicable |
| Can cut on site | Yes, lightweight, basic tools | Yes, with appropriate saw | No, factory-cut to order | Yes |
| Typical thickness | 3–6 mm | 3–8 mm | ~8 mm (5/16 inch) | 2–5 mm |
| Renovation suitability | Excellent | Excellent | Good | Limited |
| Relative cost | Moderate | Moderate to high | High | Low |
FRP (pultruded) is the most versatile choice for renovation. It is lightweight, corrosion-proof, cuts easily on site, and works on all common substrates. For projects with chemical exposure or saltwater environments, FRP is usually the best option.
Extruded aluminum is the workhorse for commercial and institutional buildings with moderate to high foot traffic. It offers a clean appearance, long service life, and strong mechanical fastening. For outdoor stairs exposed to Canadian winters, aluminum with abrasive inserts handles freeze-thaw cycles well.
→ View aluminum stair nosings for available profiles and pricing.
Cast aluminum is reserved for heavy industrial applications or very high-traffic concrete stairs. These solid aluminum products (around 5/16-inch thick) are manufactured through a sand-casting process and are often profiled specifically to fit existing concrete or steel pan stairs. They cannot be cut on site.
Vinyl and rubber should only be used indoors in light-traffic settings. They are the lowest-cost option but will not survive outdoor exposure, chemical contact, or high foot traffic.
For a full comparison of materials, the stair nosing buyer’s guide covers pricing and durability data in more detail.
Putting the Checklist Into Practice
A procurement checklist for stair nosings on renovation projects is only useful if it’s followed in sequence. The most expensive mistakes happen when steps are skipped or done out of order: ordering before measuring, measuring before surveying the substrate, or choosing a material before understanding the environment.
Print or save this checklist. Walk the staircase with it. Fill in the blanks for every flight before you contact a supplier. When you do reach out for a quote, you will have every piece of information the supplier needs to recommend the right product and get the order right the first time.
If you have a renovation project with unusual conditions (mixed substrates, non-standard stair geometry, extreme environments), contact Safety Step Canada directly. Their team can help match the right nosing profile, material, and mounting method to your specific situation.
Frequently Asked Questions
Can I install stair nosings on only some treads in a flight?
Generally, no. Adding a surface-mount nosing raises the tread height. If you install nosings on only some treads, you create non-uniform riser heights that may violate the ⅜-inch (9.5 mm) tolerance required by building codes. Apply nosings to every tread in the flight, or recalculate and confirm that the height change stays within tolerance.
What LRV difference do I need between the nosing and the tread?
The accepted minimum is a 30-point difference on the LRV scale (0 to 100). For example, a dark concrete tread with an LRV of 15 paired with a yellow nosing with an LRV of 65 gives a 50-point difference, which comfortably exceeds the requirement. Always request LRV data from the supplier before ordering.
Do I need different slip resistance ratings for indoor vs. outdoor stairs?
Yes. Using the DIN 51130 ramp test classification, indoor stairs require a minimum R10 rating, while outdoor stairs require R11. If you are using PTV as the measure, target a minimum of 36 for both, but outdoor stairs with water, ice, or contamination exposure warrant higher-grit abrasive inserts.
How do I know if my existing substrate needs leveling before installation?
Place a straight edge or spirit level across the front edge of each tread. If you can see gaps, dips, or high spots greater than 2 to 3 mm, the surface needs prep. For concrete, use a leveling compound. For wood, use an appropriate filler and sand flat. For metal, remove rust and prime. Skipping this step is the most common cause of nosing adhesion failure on renovation projects.
What is the difference between FRP and aluminum nosings for renovation?
FRP nosings are lighter, fully corrosion-proof, and easy to cut to length on site, making them ideal when stair widths vary or when chemical exposure is a concern. Aluminum nosings are more durable under heavy mechanical wear and offer a more refined appearance for commercial interiors. Both are excellent for renovation. The choice depends on the environment, traffic level, and aesthetic requirements.
Should I specify stair nosings early in the renovation design process?
Yes. Practitioners consistently report that nosings specified late in the process lead to limited product availability, compliance gaps, and contractor RFIs that delay the project. Include nosing specifications during design development, not as an afterthought during construction documentation.